
Introduction
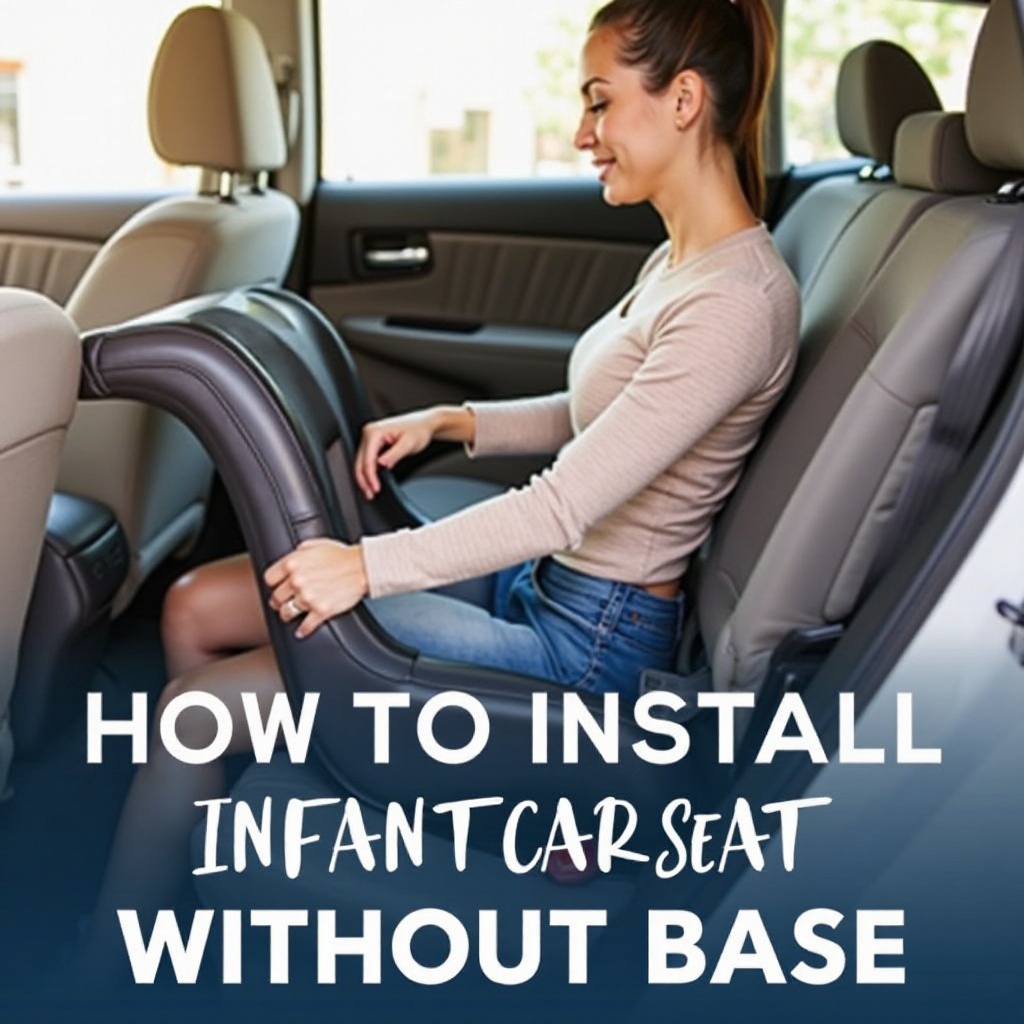
Proper installation of an infant car seat is vital to ensure the safety of your child during travel. Sometimes, you may find yourself without the car seat base that typically assists in installation. Understanding how to securely install an infant car seat without the base can be incredibly useful in these situations.
Understanding Infant Car Seats
Infant car seats are specially designed to protect young children during car rides. They are rear-facing seats that provide critical support for a baby’s head, neck, and spine. These seats are engineered to reduce the risk of injury by spreading crash forces over a wide area of the body.
Car seats usually come with a detachable base that remains fixed in the car. The infant car seat can simply be clicked in and out of this base. However, situations might arise where you don’t have the base on hand, making it crucial to know how to install the car seat directly using the vehicle’s seat belt system.
Why You Might Need to Install Without a Base
Travel emergencies, rental cars, taxis, or small cars sometimes don’t allow you the luxury of using a car seat base. It’s extremely beneficial to know the installation process for these circumstances.
Moreover, knowledge of base-less installation methods provides flexibility for parents who frequently use different vehicles. This could include ridesharing services, traveling with friends, or using public transportation services that may not accommodate the base easily.
For parents who travel extensively, packing and transporting the car seat base can be an added hassle. Therefore, mastering the installation process without the base can save space and effort while ensuring your child’s safety is not compromised.
Step-by-Step Guide to Installing Without a Base
Step 1: Preparing the Car Seat
First, read the car seat’s instruction manual thoroughly. Understanding the specifications of your car seat is essential for a secure installation. Ensure the car seat is in pristine condition and correctly assembled.
Step 2: Choosing the Right Seatbelt Path
Identify the proper belt path for a base-less installation. Car seats typically have labels or color-coded paths indicating where the seatbelt should go. It’s crucial to use the correct path to maintain the integrity of the car seat during a crash.
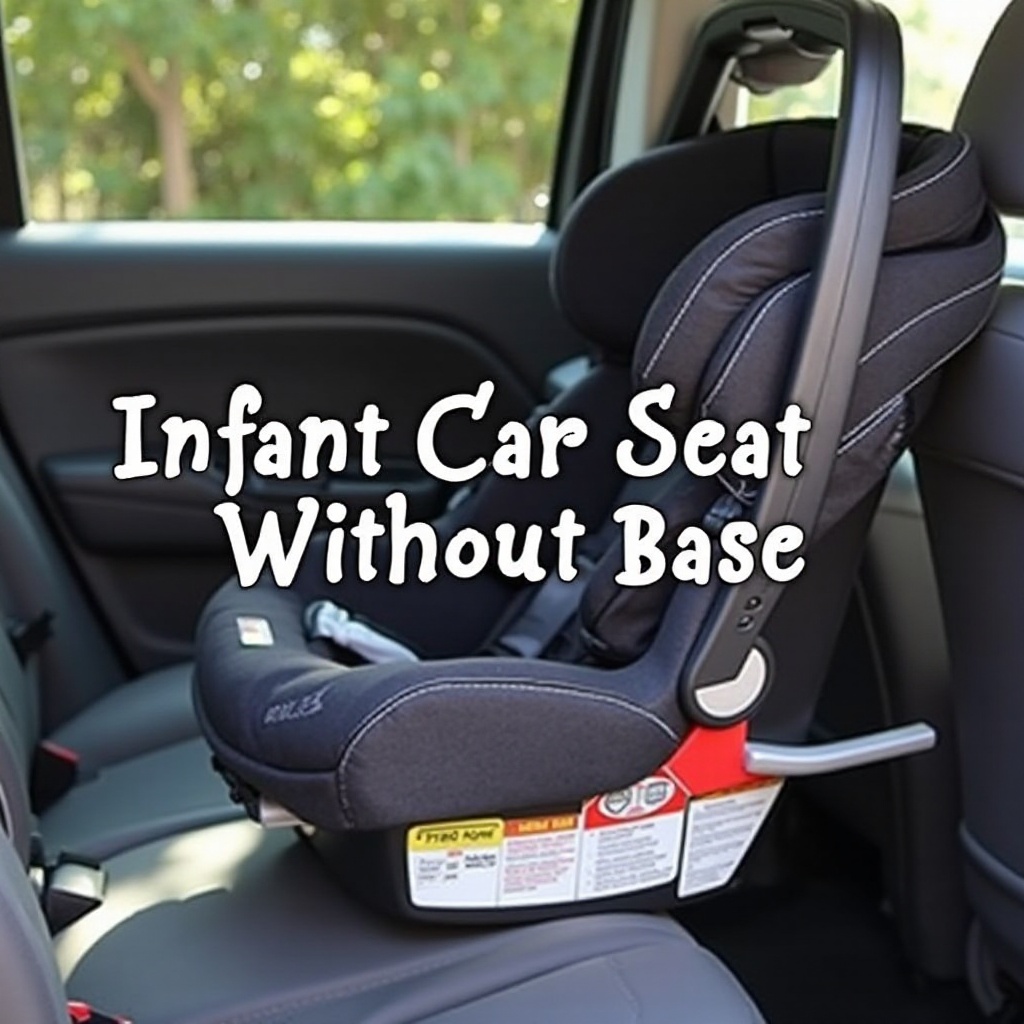
Step 3: Threading the Seatbelt
- Place the infant car seat facing the rear of the vehicle.
- Extend the seatbelt and thread it through the designated belt path on the car seat.
- Ensure the belt is not twisted, and the lap portion goes over the baby’s legs while the shoulder portion sits along the side of the seat.
Step 4: Securing the Seatbelt
- Buckle the seatbelt into the seatbelt latch until you hear a click.
- Pull the seatbelt tightly to remove any slack. The car seat should not move more than an inch from side to side or front to back.
- Lock the seatbelt in place according to the vehicle’s manual. Many vehicles have a locking mechanism to secure the seatbelt.
Step 5: Double-Checking the Installation
- Push down on the car seat and make sure it doesn’t move significantly.
- Adjust any loose straps and re-tighten the seatbelt if needed.
- Conduct a final thorough check to ensure the car seat is installed correctly and securely.
Safety Tips and Best Practices
- Always read both the car seat and vehicle manuals.
- Regularly inspect the car seat for any signs of wear or damage.
- Ensure the car seat’s harness is snug and secure around your baby.
- Car seats should always be rear-facing for infants and positioned in the back seat.
- Conduct inspections periodically to ensure the setup hasn’t loosened over time.
Connect with a certified car seat technician if you ever have doubts about installation. Taking the time to master this installation method ensures your child’s safety and your peace of mind.
Troubleshooting Common Issues
Let’s delve into some common issues parents face when installing an infant car seat without a base and how to resolve them.
Loose Seatbelt
One of the most common issues is discovering that the seatbelt feels loose after installation. If the seatbelt is not tightening adequately, ensure it is not twisted and confirm you are using the correct locking mechanism and belt path. Always double-check the vehicle’s manual and the car seat manual to ensure compatibility.
Unstable Car Seat
If the car seat feels unstable, it’s crucial to double-check the belt path and re-tighten the seatbelt. The car seat should not move more than one inch from side to side or front to back. It’s also helpful to put some of your weight into the car seat while tightening the seatbelt to ensure a snug fit.
Difficult Installation
If you’re finding it challenging to install the car seat without the base, remember that patience is key. Take breaks as needed and ensure you understand each step fully. Consulting videos or seeking professional help from a certified car seat technician can offer additional guidance and reassurance.

Conclusion
Knowing how to install an infant car seat without the base is an essential skill for any parent or guardian. This knowledge ensures your child’s safety in any situation where the base is unavailable.
Having this method at your fingertips also provides greater flexibility and readiness for any travel scenario. The steps outlined provide a straightforward approach to achieving a safe and secure installation.
FAQs
Frequently Asked Questions
Can I safely install an infant car seat without a base?
Yes, following the correct procedure ensures a safe installation without a base. Adhering to manufacturer guidelines is critical.
What should I do if the seatbelt is too loose?
If the seatbelt feels too loose, ensure it is not twisted and is routed correctly. Tighten the belt and lock it using the vehicle’s belt locking mechanism.
How often should I check the car seat’s installation?
Check the car seat’s installation regularly, ideally before each trip, to ensure it stays secure and compliant with safety standards.